By default, online bookings are automatically confirmed which means that when customers complete booking process they see a message indicating that booking was accepted. Auto-confirmations are optional and you can change them on the “Booking Policy” page that you can find by clicking on the main navigation, then choosing “Online Booking” and selecting “Booking Policy” card. (Direct link: https://www.planfy.com/portal/profile/policy)
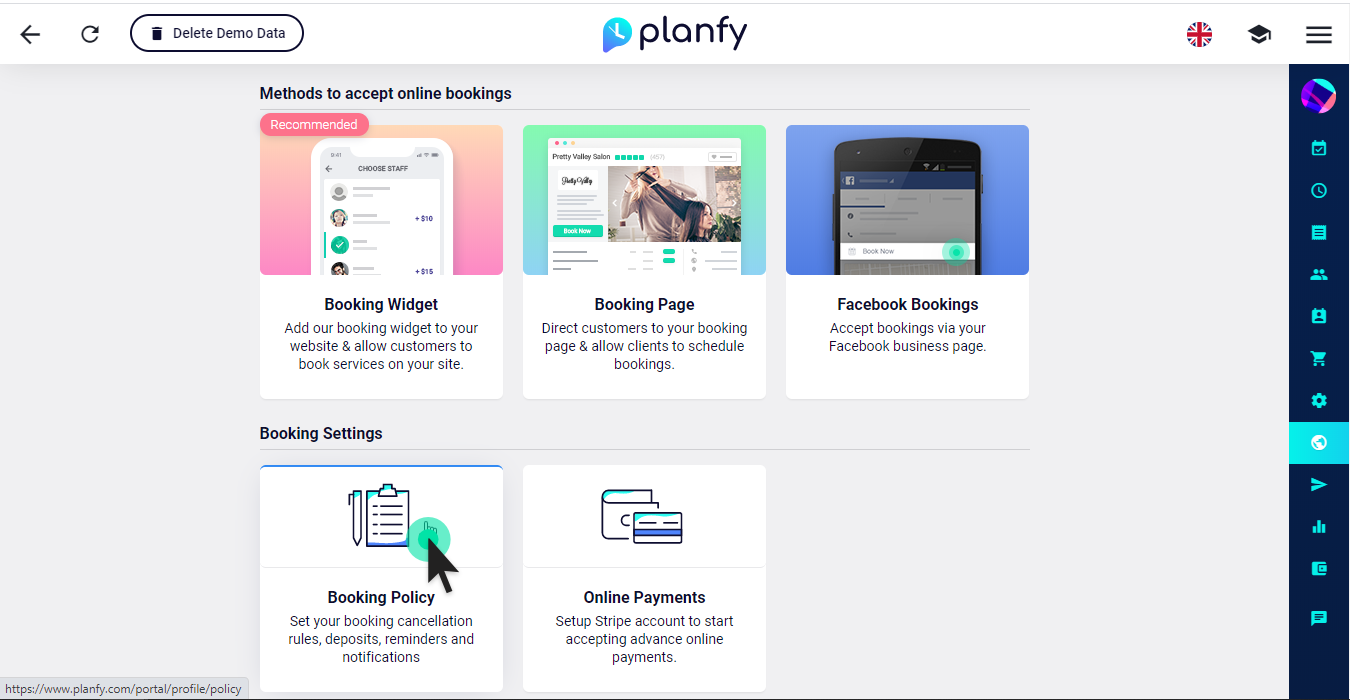
On the next page you will notice an option to disable auto-accepting of bookings. You can do so by de-activating (making grey) the “Auto Confirm New Bookings” toggle as shown in the following screenshot:
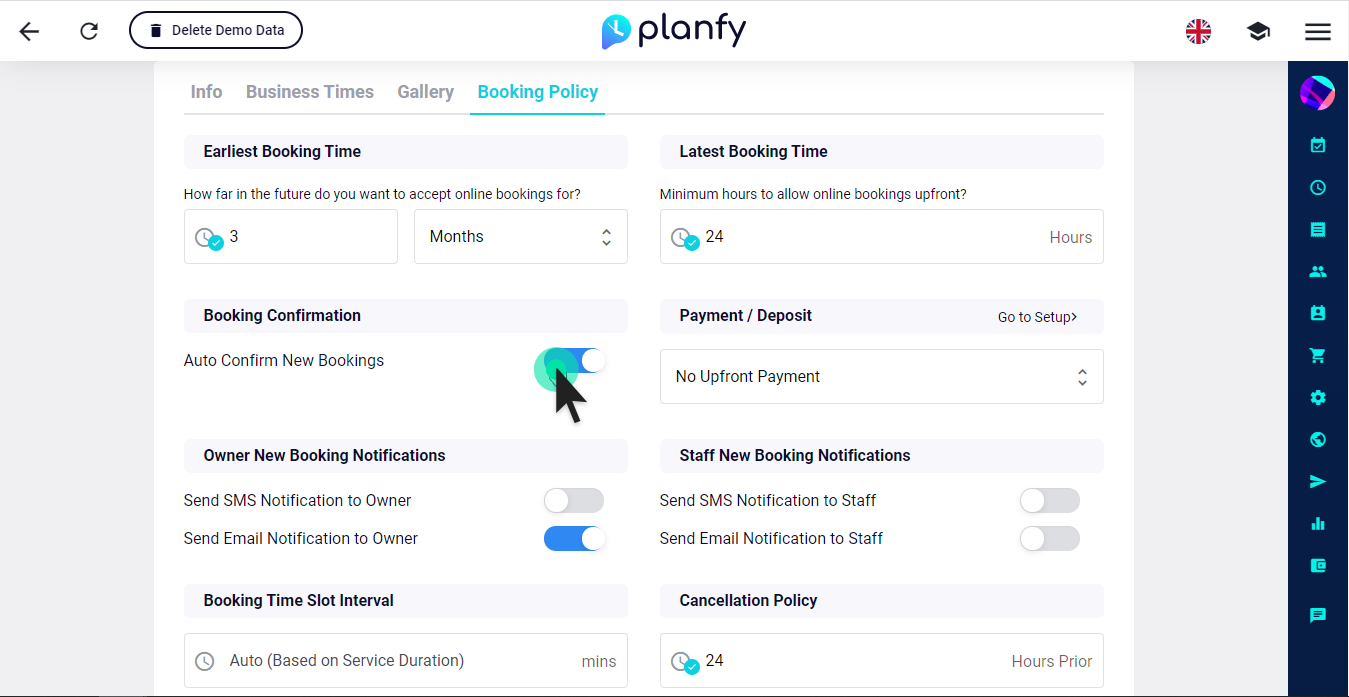
Once this setting is disabled, any customers booking appointments online will see “Waiting Confirmation” message on the completion step. They will see this message until you change the booking status to accepted/confirmed in your Portal. When bookings get confirmed, customers are informed via SMS & email.
Changing Booking Status
There are two easy ways how you can change the booking status.
Method One – Calendar
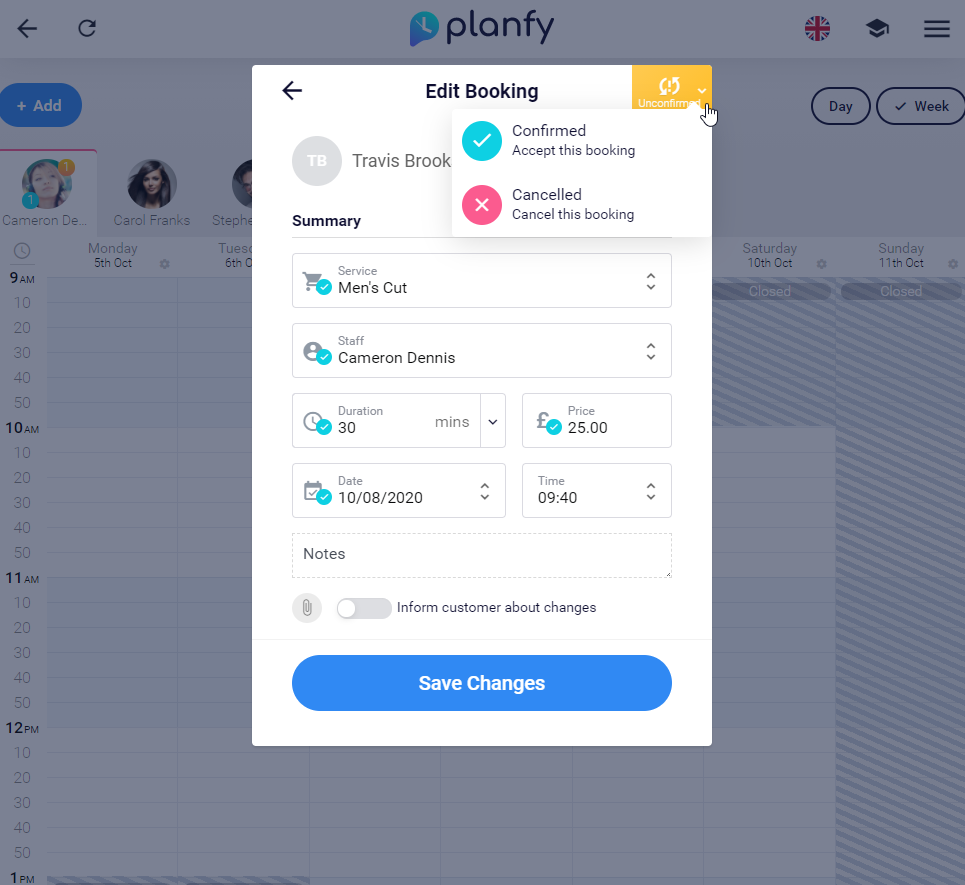
Firstly, you can click on an appointment slot in the calendar and the “Edit Booking” popup will appear with appointment details. At the top right hand side of the popup, you will find a status indicator. In the example below, the appointment is Unconfirmed, so the system gives options to “Confirm/Accept” it or “Cancel”.
Method Two – Bookings Page
The second method to change an appointment status is to do it via Bookings page. Open the main navigation and select “Bookings”.
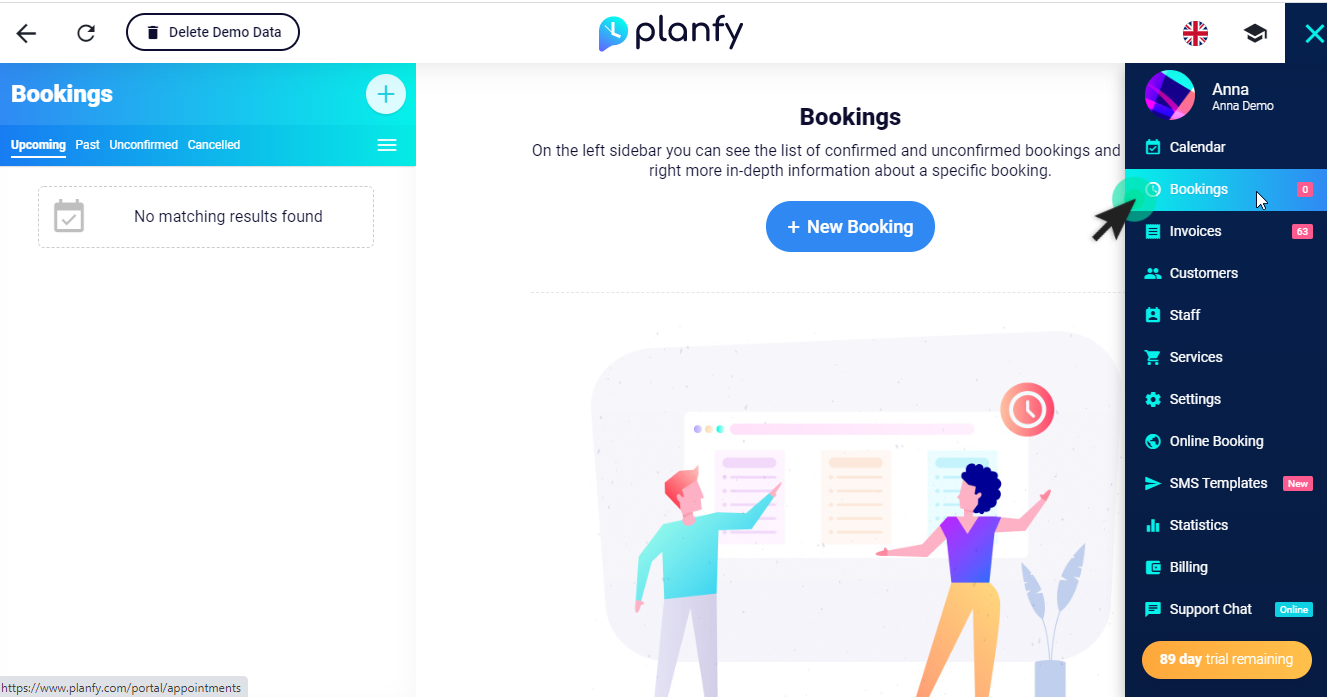
The sidebar on the left hand side enables you to filter bookings by status. You can find the list of Upcoming, Past, Unconfirmed and Cancelled bookings.
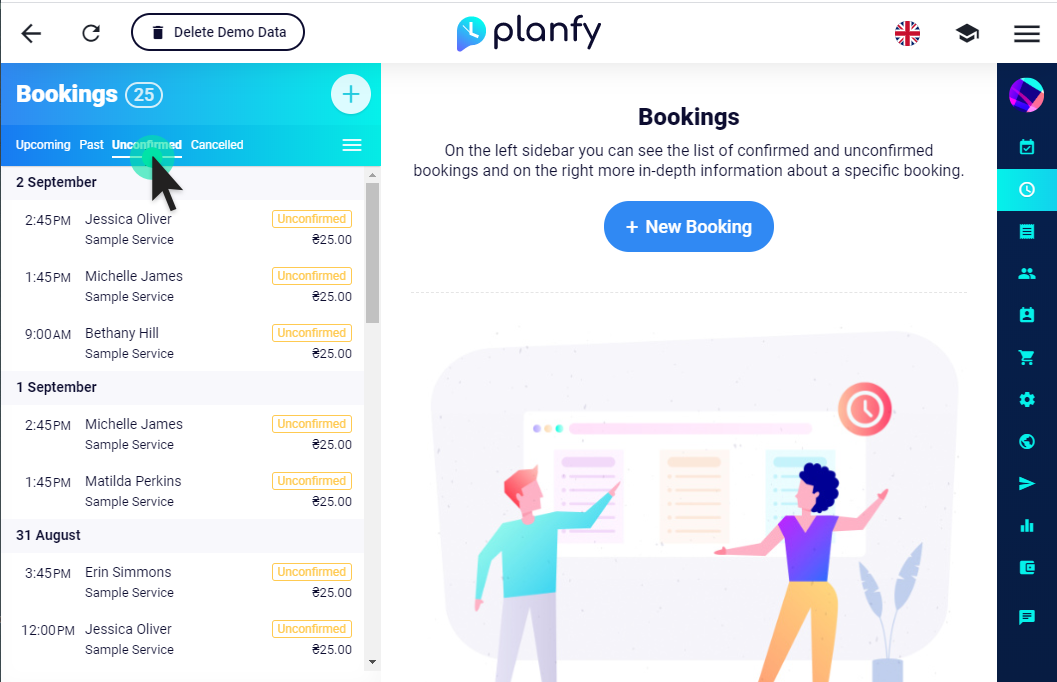
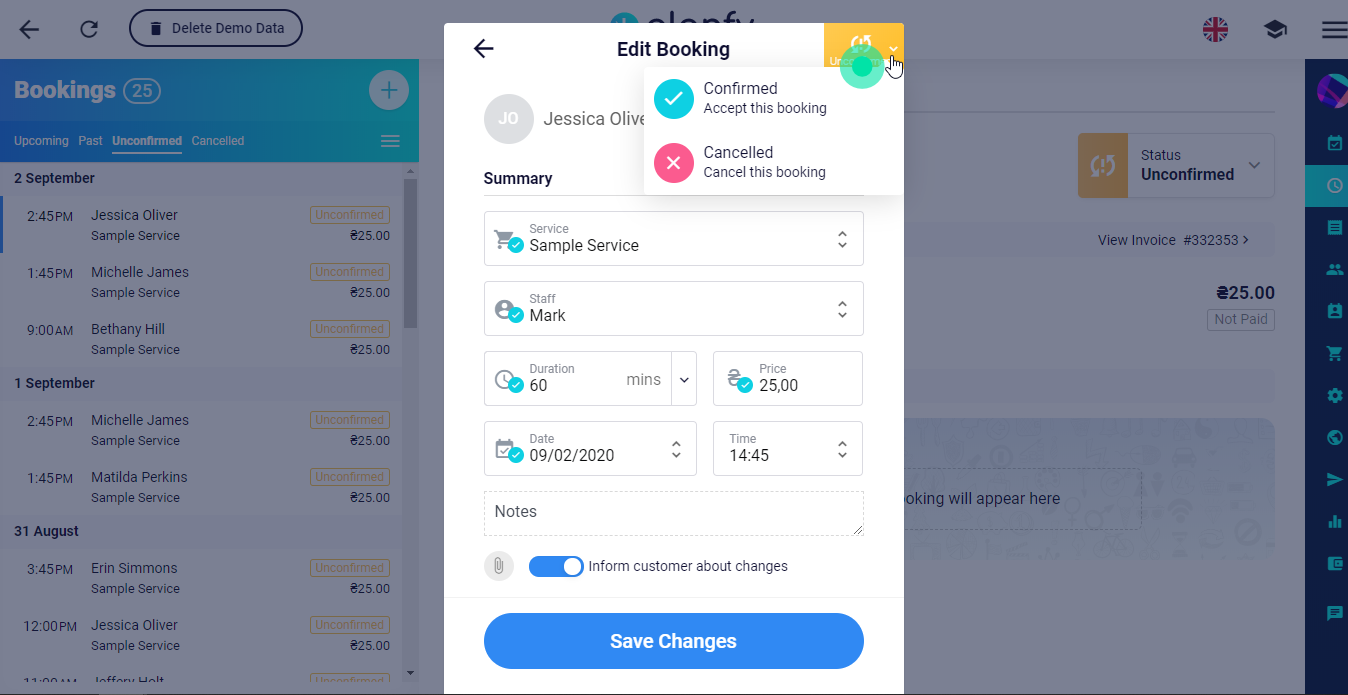
Use the list and filters to select the appointment that needs status to be changed. Next, click on the rectangular status indicator button on the right hand side of the page.
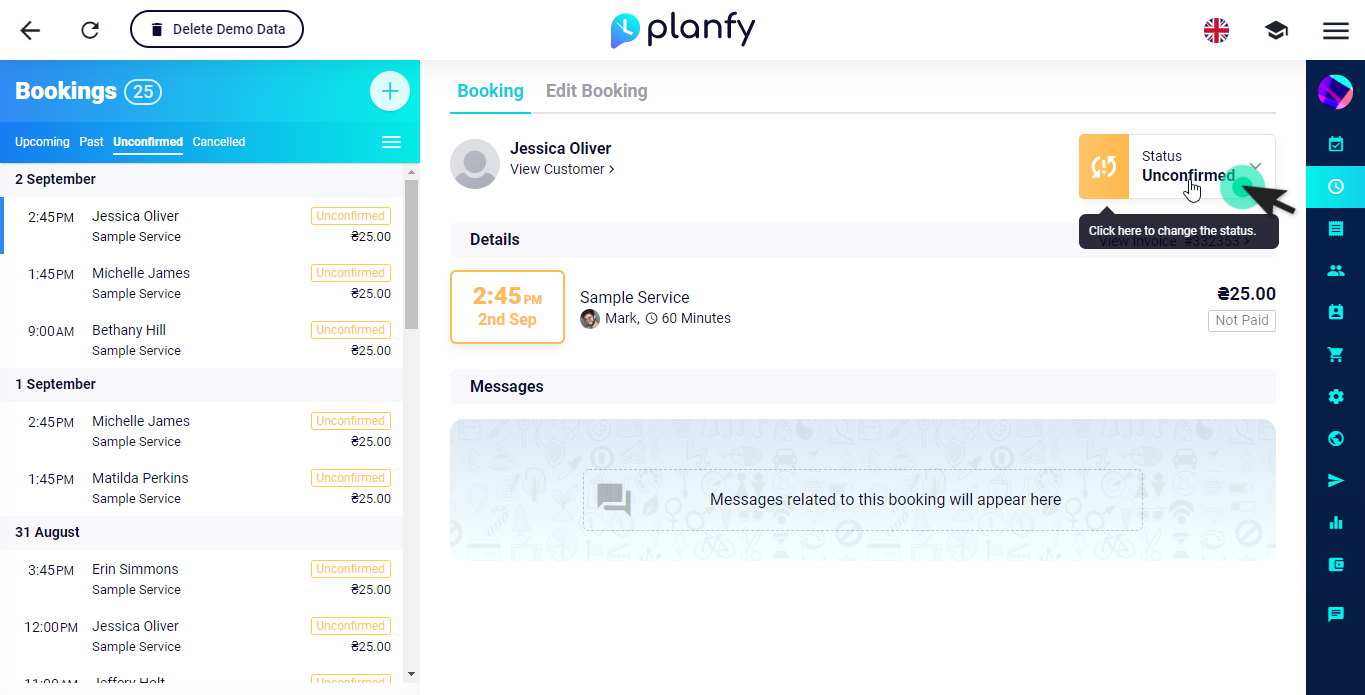
This will open the “Edit Booking” popup with all the booking details and with the orange button at the top suggesting that the status is unconfirmed. You can adjust the appointment status by clicking it and selecting “Confirmed” or “Cancelled” as illustrated in the following image.